Creating Courses in Mindsmith
Courses in Mindsmith help you organize multiple lessons into a cohesive learning path. Whether you're delivering a full onboarding sequence or a structured training series, this guide walks you through the complete process of building and publishing a course.
📘 1. What Is a Course in Mindsmith?
A course is a container for multiple lessons. Unlike standalone lessons, courses allow you to:
- Group related lessons together
- Set completion order
- Create a more comprehensive learning experience
Think of a course as a playlist of lessons with structure and flow.
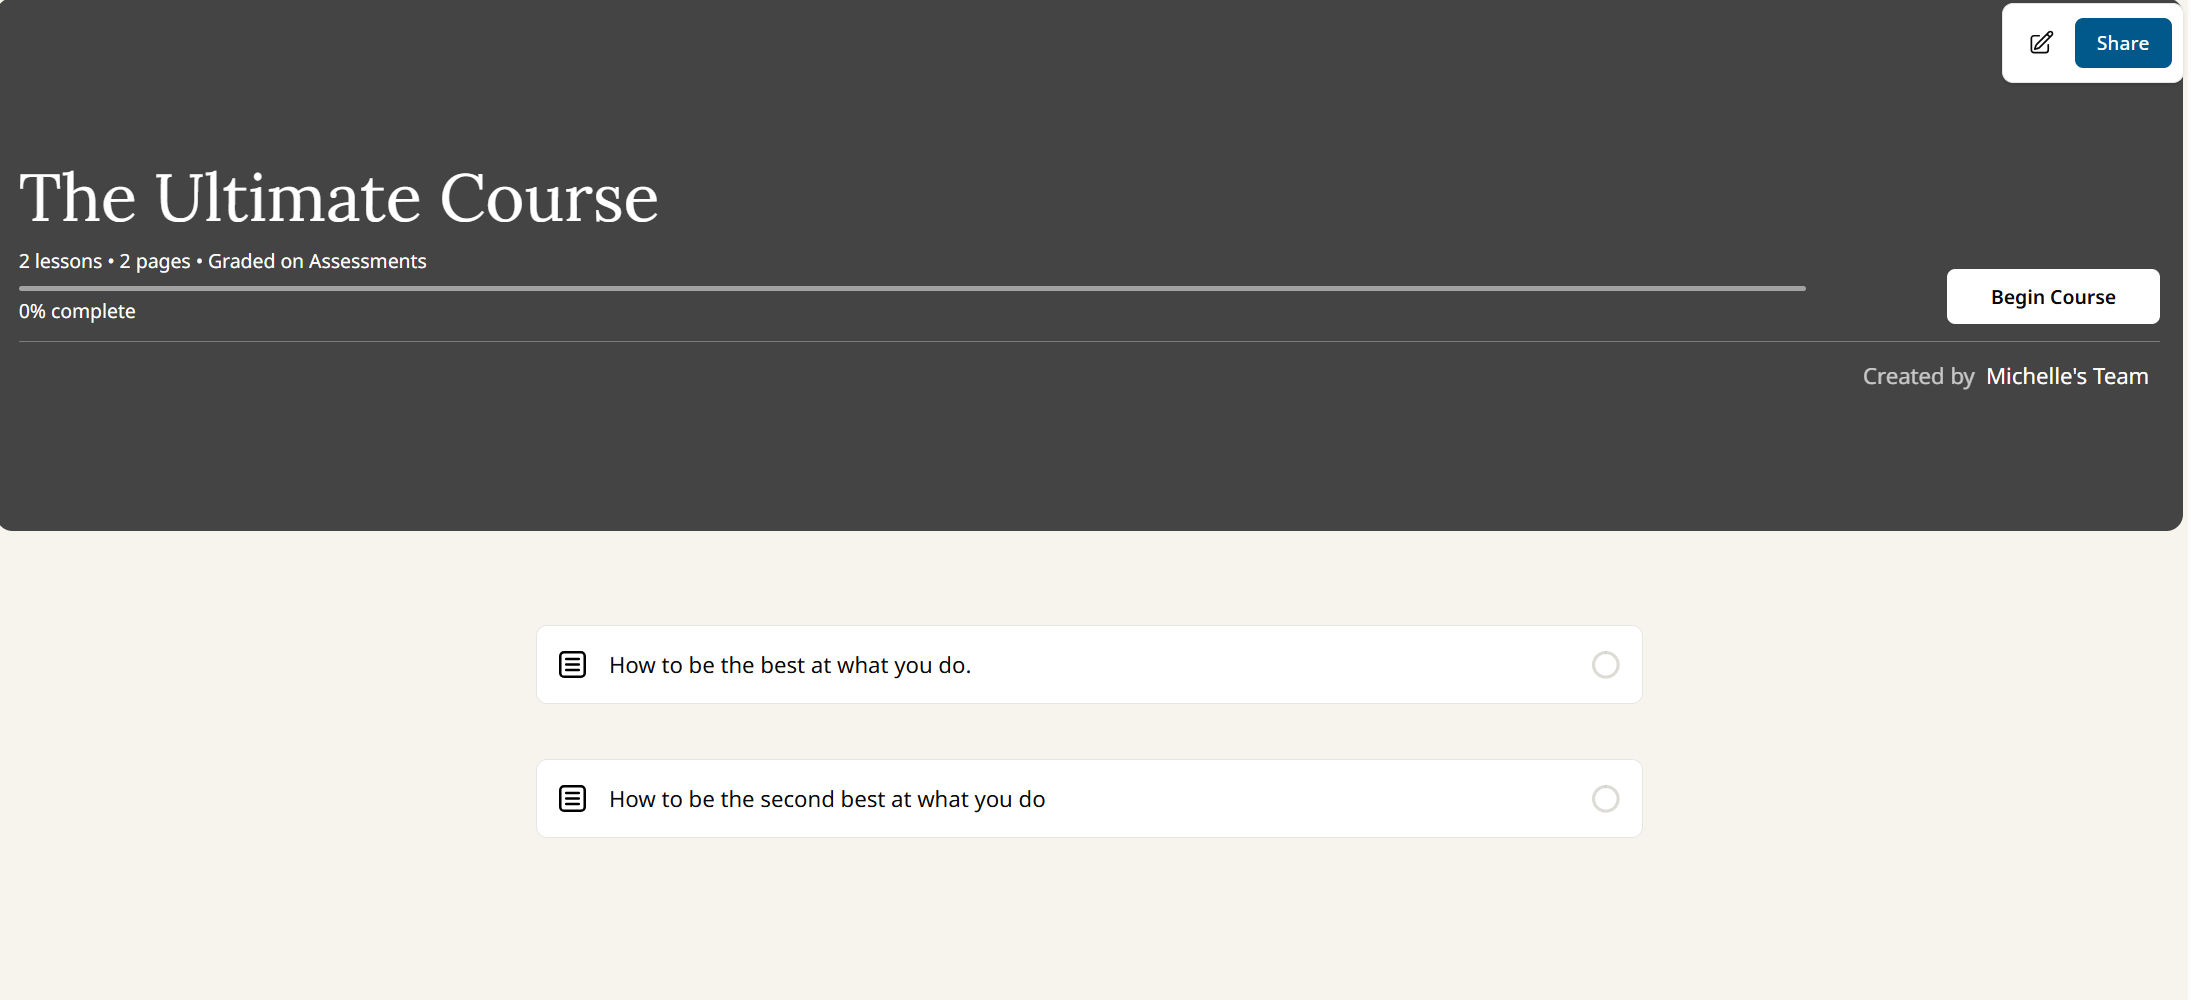
Figure 1. Example of a course containing multiple lesson modules
➕ 2. Create a New Course
To create a course from the dashboard:
- Click the “Courses” tab.
- Select “Create New Course”.
- Add a course title, description, and thumbnail.
- Click “Create Course” to start building.
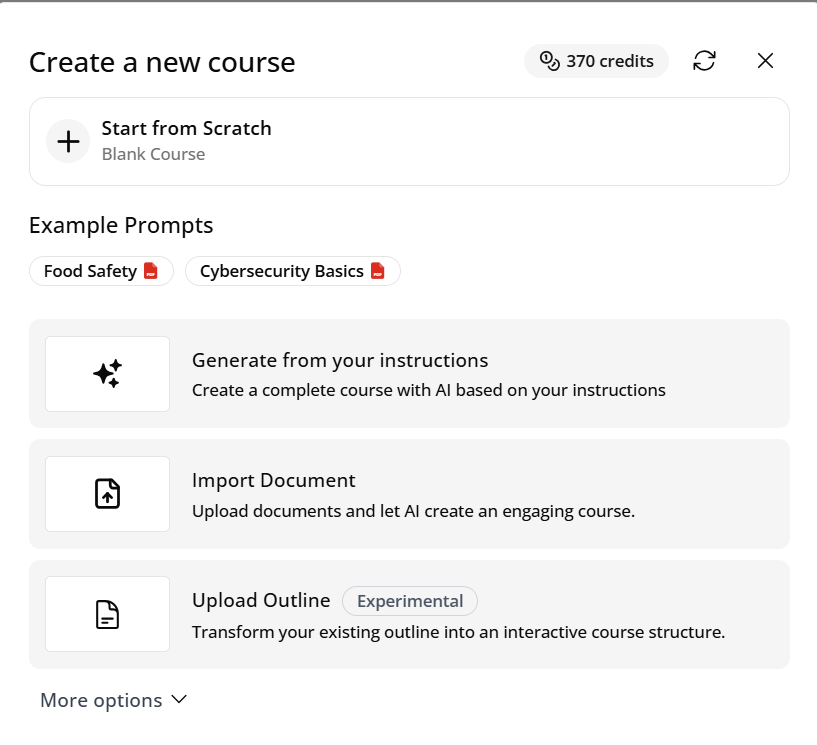
Figure 2. Starting a new course from the dashboard
🧩 3. Add Lessons to Your Course
Once inside the course editor:
- Click “Add Lesson”
- Choose from your existing lessons
- Drag and drop them into the order you want
You can organize lessons into modules or sections to help learners track progress.
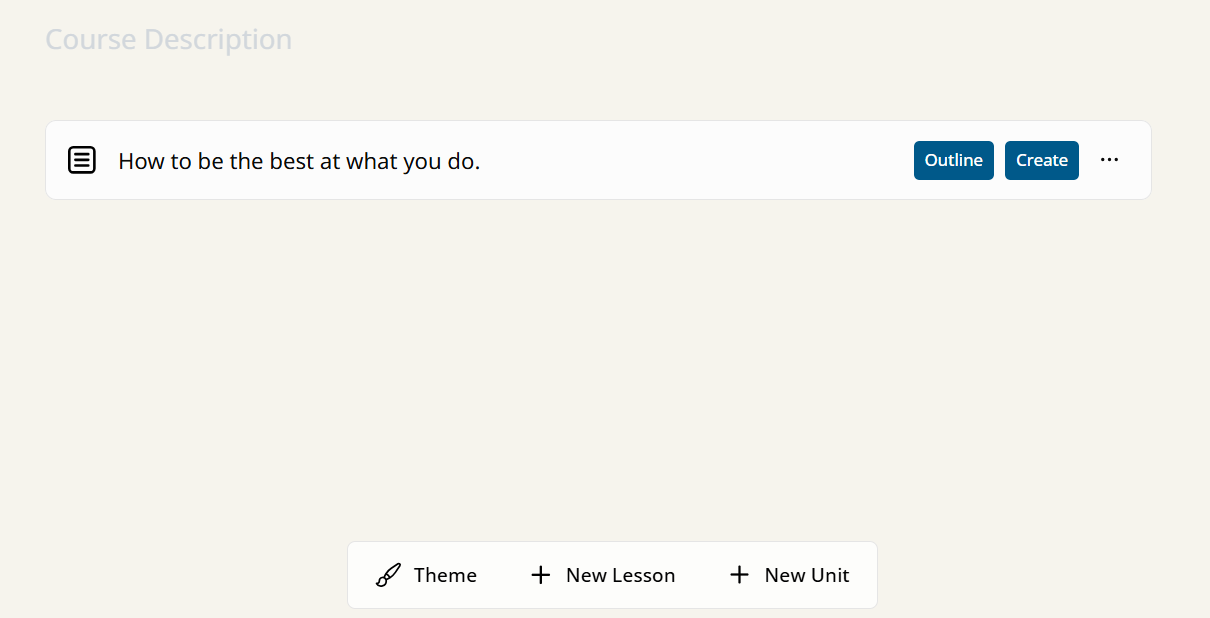
Figure 3. Adding and organizing lessons inside a course
🛠 4. Customize Course Flow
You can configure your course to control how learners progress:
- Set prerequisites between lessons
- Enable linear navigation or free navigation
- Customize section headers for better clarity
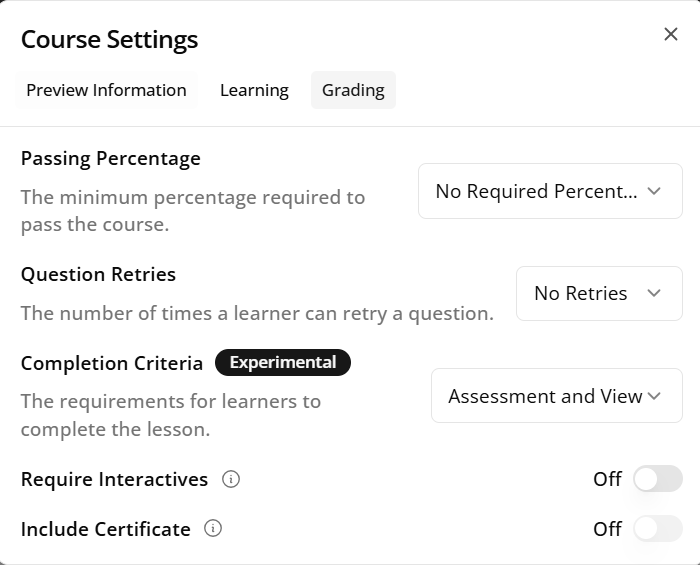
Figure 4. Adjusting the structure and navigation of your course
🚀 5. Publish Your Course
Once your course is ready:
- Click “Publish” in the top right corner
- Set visibility (private, link-only, or public)
- Copy the shareable link or embed code
Learners will access the entire course and progress through each lesson in order.
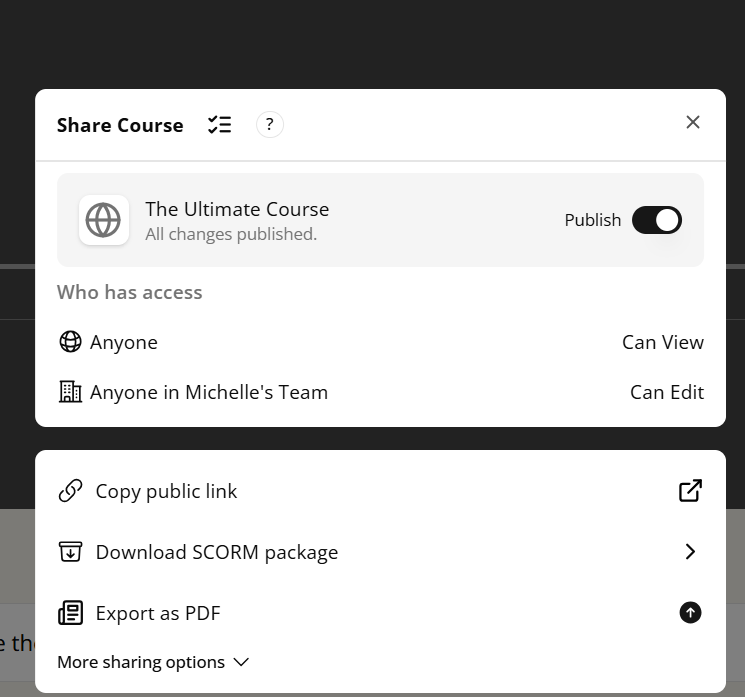
Figure 5. Publishing and sharing your finished course
👥 6. Assign Courses to Teams (Pro)
If you have a Pro account, you can assign courses to team members directly from the Team Dashboard.
- Track completion
- Send reminders
- Monitor learner progress across all lessons
![]()
Figure 6. Managing team-based course access and tracking progress
✅ Recap
| Step | Action |
|---|---|
| 1 | Create course from dashboard |
| 2 | Add lessons and organize them |
| 3 | Customize flow and prerequisites |
| 4 | Publish and share |
| 5 | (Pro) Assign to team and track |
📽️ Video Walkthrough
Figure 7. This video is a Tutorial on How to Create A Simple Course