⚙️ Setting Up Your Environment
🧭 From Quickstart to Environment Setup
If you've just completed the Quickstart Checklist, you’ve already installed the tools needed to simulate, test, and explore the fake-spec API. But software tooling is only one part of a healthy development experience. Without a stable environment, meaning your terminal, file system, port settings, YAML formatting, and networking rules are correctly configured, you’ll experience incomplete payloads, broken Swagger previews, silent Redoc failures, or inconsistent results in tools like Postman or Mockoon. This section expands beyond the UI and CLI, breaking down the environment you’ll need at the OS level with step-by-step install options for macOS, Windows, and Linux-based systems.
🛠️ Installing Node.js 18+ (⏱️ 2–3 min)
Node.js powers many aspects of API development, including Swagger preview servers, mock tooling like Prism, and CI/CD pipelines. API Atlas assumes you are using Node.js version 18 or higher, since older versions lack full support for ES Modules and modern YAML parsing libraries.
- Windows: Download Node.js and use the .msi installer
- macOS: Use Homebrew:
brew install node - Linux: Use your package manager (e.g.,
sudo apt install nodejsandnpm)
You can confirm your installation by running node -v in your terminal. If the output shows v18.x or higher, you’re good to go. If not, uninstall any existing version and reinstall from the official site.
🔃 Git and GitHub Setup (⏱️ 1–2 min)
Git allows you to track your API changes, commit updated OpenAPI specs, and push YAML files to your remote repository. GitHub integrates with popular tools like SwaggerHub, Stoplight, and Docusaurus for seamless deployment pipelines. If you’re not using version control yet, install Git today to enable versioned workflows and automated documentation builds.
- Windows: Install Git for Windows
- macOS: Git is included with Xcode Command Line Tools (
xcode-select --install) - Linux: Install with
sudo apt install gitor equivalent
💻 Terminal or CLI Access (⏱️ 1–2 min)
Your command line interface (CLI) is the control panel for everything you do with APIs. You’ll use it to run curl requests, launch Swagger mock servers, lint YAML files, and install dependencies. Mac and Linux users can use the built-in Terminal app; Windows users should install Windows Terminal or use Git Bash for Unix-like behavior. You should be comfortable switching directories, running Node.js or Python scripts, and viewing error logs.
🔓 Open Ports (3000 or 5000) (⏱️ 1–2 min)

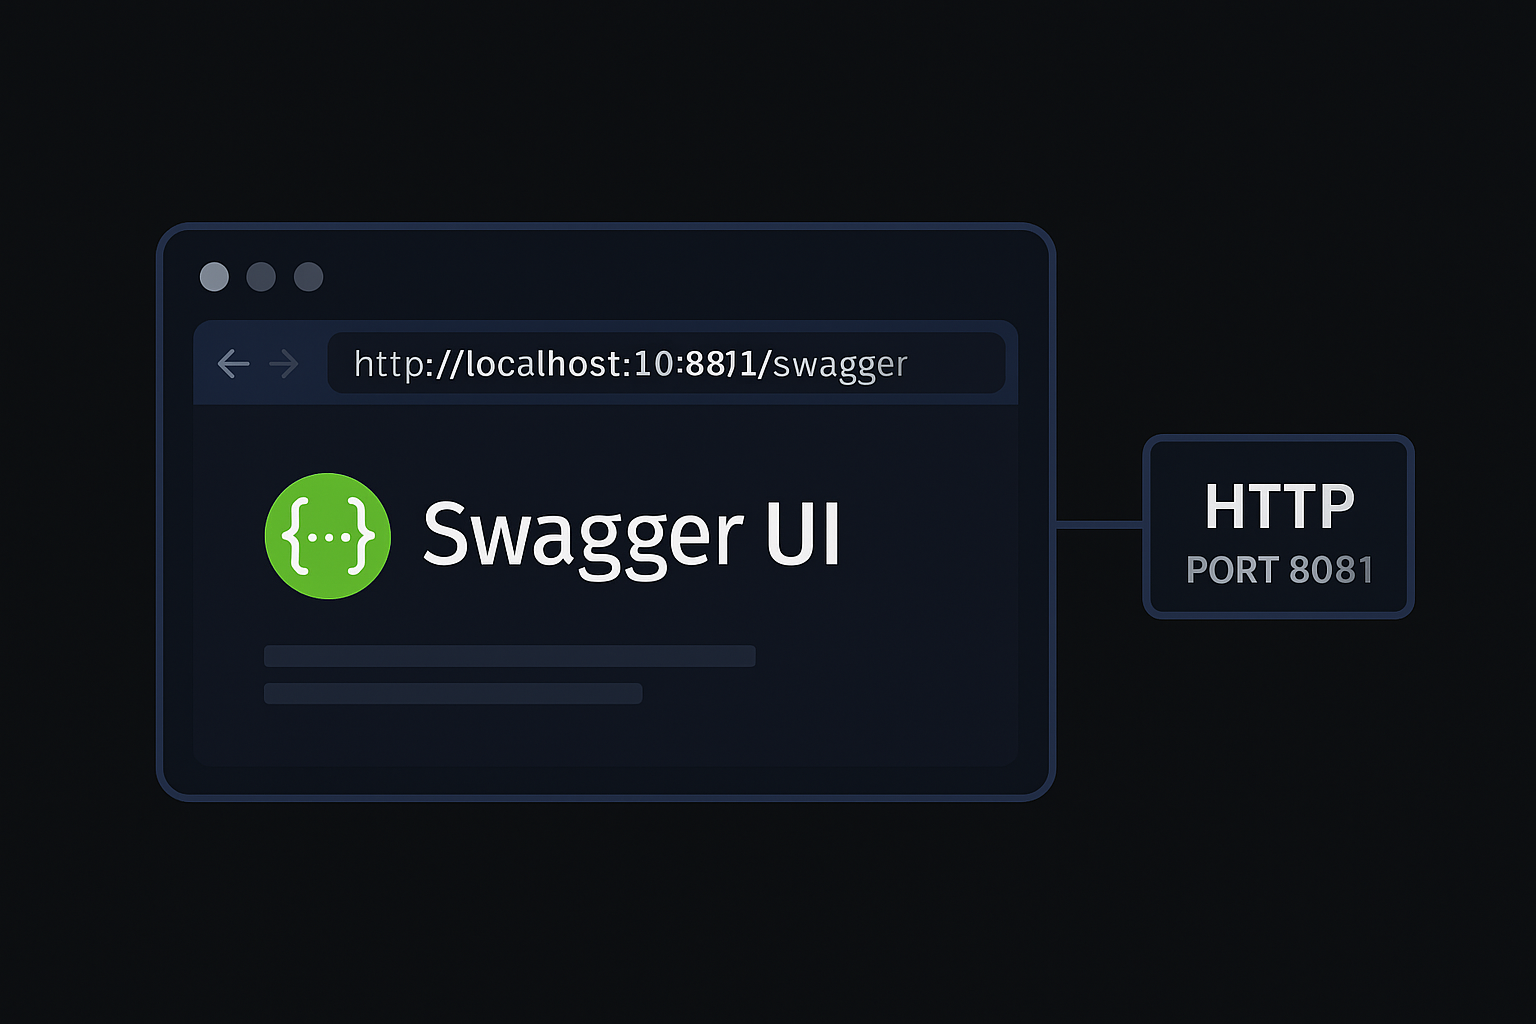
Swagger UI, along with many local dev servers, defaults to port 3000 or 5000. If either port is already in use, by Docker, React apps, or background services, your preview may fail silently without visible errors To check which processes are using your ports, run lsof -i :3000 (macOS/Linux) or netstat -aon | findstr :3000 (Windows), and then stop them with kill -9 PID or taskkill /PID. You can also change the default port in your Swagger configuration, although having open ports is preferred.
🌐 Internet Access & Firewall Rules (⏱️ 1–2 min)
Make sure your machine has unrestricted access to the internet when fetching specs, using Swagger/Redoc embeds, or validating schema links. Some corporate networks, VPNs, or proxy settings may block localhost or 127.0.0.1 requests. If Swagger UI doesn’t load, check your browser console for CORS errors or failed schema fetches. If needed, temporarily disable firewalls or adjust your network settings to allow local loopback access.
🧹 YAML Linter Plugin (⏱️ 1–2 min)

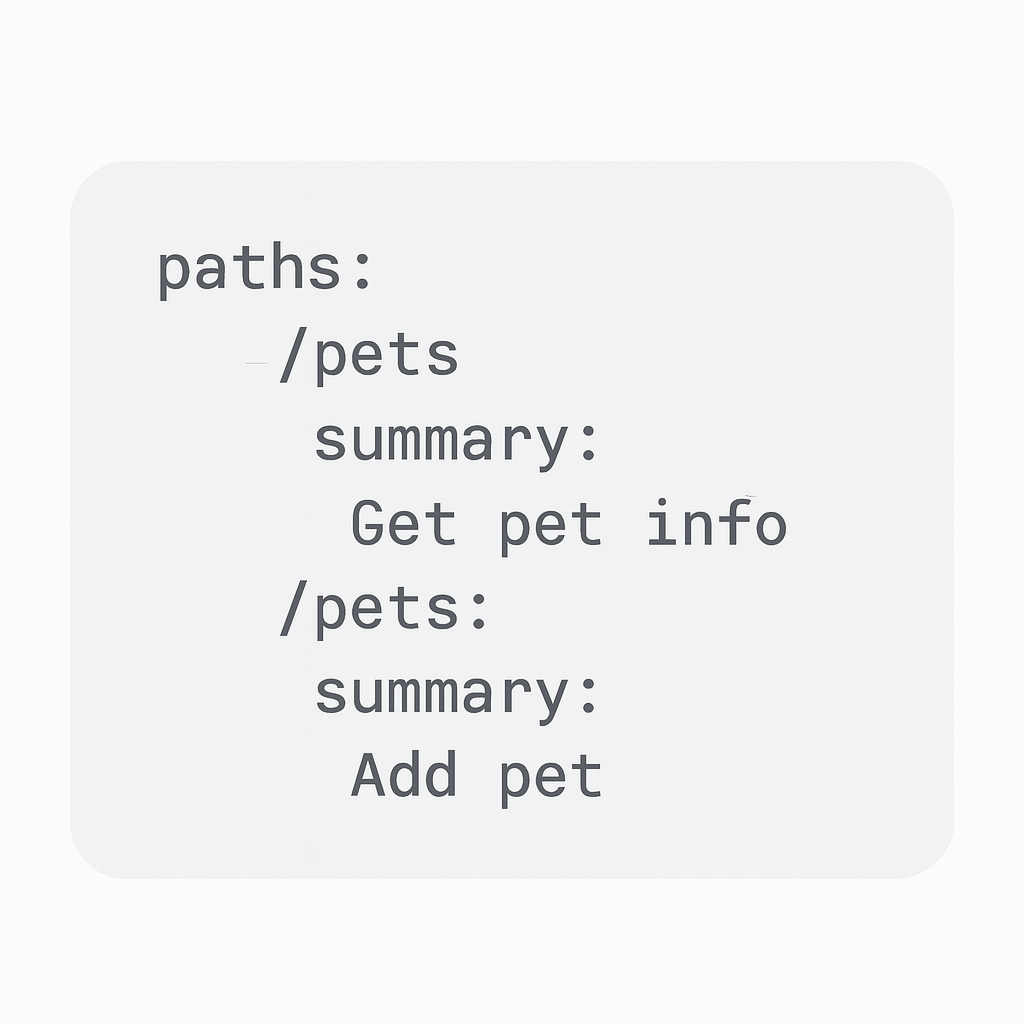
YAML syntax is whitespace-dependent. One misaligned colon, missing indent, or trailing space can cause the entire file to fail. Neither Swagger nor Redoc will show you a useful error message, they’ll just fail silently. Use a YAML linter plugin in VS Code or your IDE to validate before pushing changes. A linter will catch mistakes that aren’t visible by eye and prevent hours of debugging.
# ❌ Broken YAML
paths:
  /employee/details
    get:
      summary: "Fetch employee data"
      responses:
        '200':
         description: "Successful request"
🔐 Authorization Tokens (⏱️ 1–2 min)
Many endpoints in the fake-spec mock API require a token header such as Authorization: Bearer {yourToken}. These tokens can be hardcoded in Postman environments, added as query parameters, or injected through headers in Swagger UI. Without them, your requests will return 401 Unauthorized. You’ll find your token format in the Token Guide later, but ensure your client supports custom headers and secure storage first.
🧰 Animated Minimum Requirements
- Node.js 18+, required for running dev servers, CI scripts, and Swagger preview commands.
- Git + GitHub, used to sync OpenAPI schemas, manage CI workflows, and deploy updates.
- Terminal or CLI, essential for sending
curlcommands, installing packages, and debugging headers. - Port 3000 or 5000 Open, required by Swagger UI, mock APIs, and React-based preview servers.
- Internet Access, enables schema retrieval from URLs and access to hosted Swagger/Redoc instances.
- YAML Linter Plugin, validates indentation, character encoding, and references in your OpenAPI files.
- Authorization Token, needed for authenticated requests across endpoints like
/payroll/export.

✅ Final Checklist
- ✅ Node.js 18+ installed
- ✅ GitHub repo access confirmed
- ✅ CLI terminal working and accessible
- ✅ Ports 3000 or 5000 not in use
- ✅ Internet and schema URLs reachable
- ✅ YAML linter installed in VS Code or IDE
- ✅ Token header ready for authenticated routes
📦 Summary and Moving On to Demo API
Your setup is now fully aligned with the tools, specs, and workflows used throughout API Atlas. If any tool above is missing, incomplete, or misconfigured, Swagger and Postman will fail silently or return HTTP status errors that are hard to interpret. With a strong environment in place, you’ll be prepared to test every endpoint, simulate workflows, and debug integrations in a controlled and efficient way.
➡️ Continue to the Demo API to simulate your first user request and observe the live behavior of our mock endpoints. You’ll put your full setup to the test. You will be launching tools like Swagger, sending your first request with headers, and validating response objects using real payloads. From this point forward, all features assume a fully working environment, including mock servers, schema previews, token headers, and YAML parsing. Double-check your setup now to avoid hard-to-trace issues later on